Getting Started with Routine
This guide walks you through the process of running your first routine on the platform using a local project folder and a predefined base stack.
📁 Project Structure
We assume you already have a local project directory with a general structure similar to the one below. While the exact file and folder names may differ, your project should typically include:
A main executable script or binary (e.g., R, Python, shell)
Initialization or setup logic, if required
Dedicated subdirectories for input data and output results
To proceed further, you’ll need to add a file named wkube.py (as shown below), which defines the routine for the platform.
project-folder/
├── main.R          # Main R script to be executed
├── init.R          # Initialization script required by the R4_4 base stack
├── inputs/         # Folder containing input data files
├── outputs/        # Folder to store output files
└── + wkube.py # ✅ Routine definition file for the platform (added by user)Note:
+indicates a newly added file. Thewkube.pyfile is required to define the routine.
🧠 How Routines Work
When you prepare a routine:
- You provide your code (locally, from Git, or in a container image).
- You specify software dependencies via one of:
- A predefined base stack (recommended for ease of use)
- A custom containerfile (defines how to build the container image)
- A prebuilt container image (bundles code + environment)
For this guide, we’ll use:
- Code sourced from your local computer
- A predefined base stack:
R4_4
👉 See full list of base stacks here
👉 Learn more about data mapping
📦 Environment Structure in Base Stack
When using a predefined base stack, your entire local project folder is mounted at:
/codeinside the sandboxed runtime environment (container). Be sure to reference all input/output paths in project folder * prepended /code* in your data mappings as data mapping only accepts absolute paths.
⚙️ Creating wkube.py
To script a routine to be run on Accelerator, create a wkube.py file in your project root:
from accli import WKubeTask

myroutine = WKubeTask(
    name="Biodiversity Indicators Exp1",
    job_folder='./',
    base_stack='R4_4',
    command="Rscript main.R",
    required_cores=1,
    required_ram=1024*1024*512,
    required_storage_local=1024*1024*2,
    required_storage_workflow=1024*1024,
    timeout=60*60,
    conf={
        "input_mappings": "acc://act4cap27/agmip_data/Cleaned_AGMIP_Data.csv:/code/inputs/input_data.csv",
        "output_mappings": "/code/outputs/:acc://out"
    }
)
📘 WKubeTask: Parameter Reference
Here's a breakdown of important keys used in the WKubeTask object:
| Key | Description |
|---|---|
name | Human-readable name for your routine |
job_folder | Path to local project folder (mutually exclusive with Git/docker-based setup) |
repo_url | Git repository URL (required if sourcing code from Git) |
repo_branch | Git branch name (required with repo_url) |
base_stack | ID of predefined runtime environment |
docker_filename | Path to a custom containerfile (relative to project root) |
docker_image | Prebuilt Docker image URL (fully self-contained with code + dependencies) |
command | Shell command to run the routine (entry point) |
required_cores | Number of CPU cores requested |
required_ram | Amount of RAM in bytes |
required_storage_local | Local disk space needed during execution (bytes) |
required_storage_workflow | Shared volume space needed (bytes) |
timeout | Maximum execution time (in seconds) |
conf | Dictionary of config options and mappings |
🔧 About conf
- Every key-value pair in
confis exposed as an environment variable inside the container. - You can use this to pass parameters or credentials to your script.
- Keys like
input_mappingsandoutput_mappingsare interpreted by the platform for data management.
⚙️ About command
- This is the command that starts your routine.
- You can dynamically use values from
confin your script by accessing environment variables. - You can also pass arguments directly to the script via
command(e.g.,"python train.py --epochs 10")
🚀 Dispatching the Routine from Terminal
With wkube.py defined and your project ready, you can submit your routine from the terminal using the accli tool — find installation instructions here.
Step 1: Log In
accli loginFollow the on-screen instructions to authenticate with the platform.
Step 2: Dispatch Your Routine as a Job
accli dispatch <project_slug> <routine_variable>- Replace
<project_slug>with the name of your Accelerator projects as it appears in your browser's address bar afterhttps://accelerator.iiasa.ac.at/projects/. - Replace
<routine_variable>with the routine's variable name chosen inwkube.py(e.g.,myroutine).
Example:
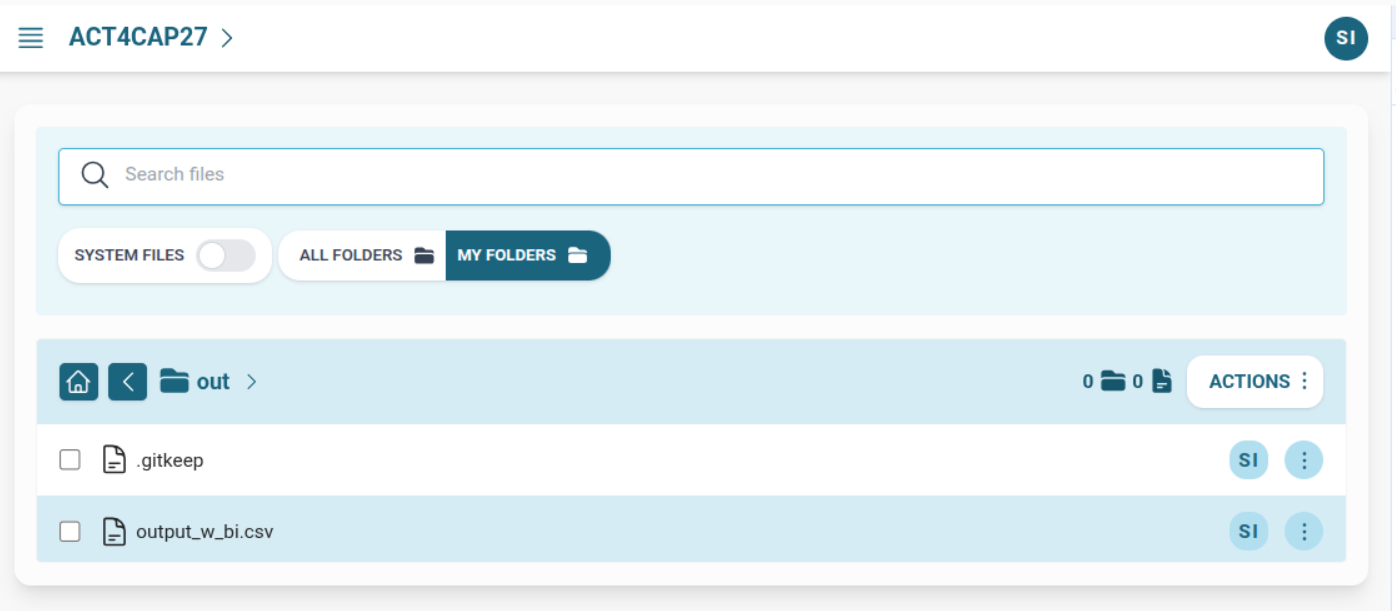
accli dispatch biodiversity_exp1 myroutine🌐 Monitoring and Results in the Web Dashboard
After dispatching your routine, switch to the platform's web interface to monitor execution and access outputs.
You can:
- ✅ View job progress and status
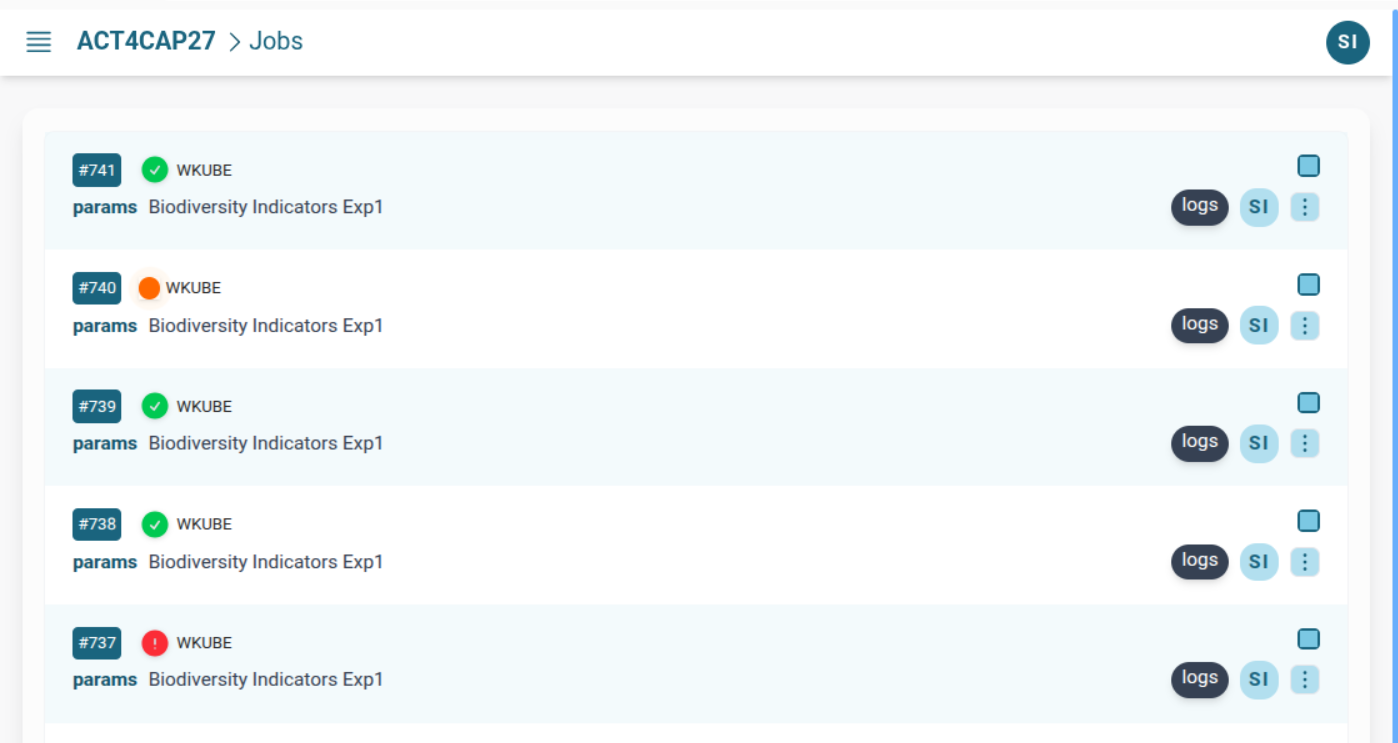
- 📄 Stream logs in real-time
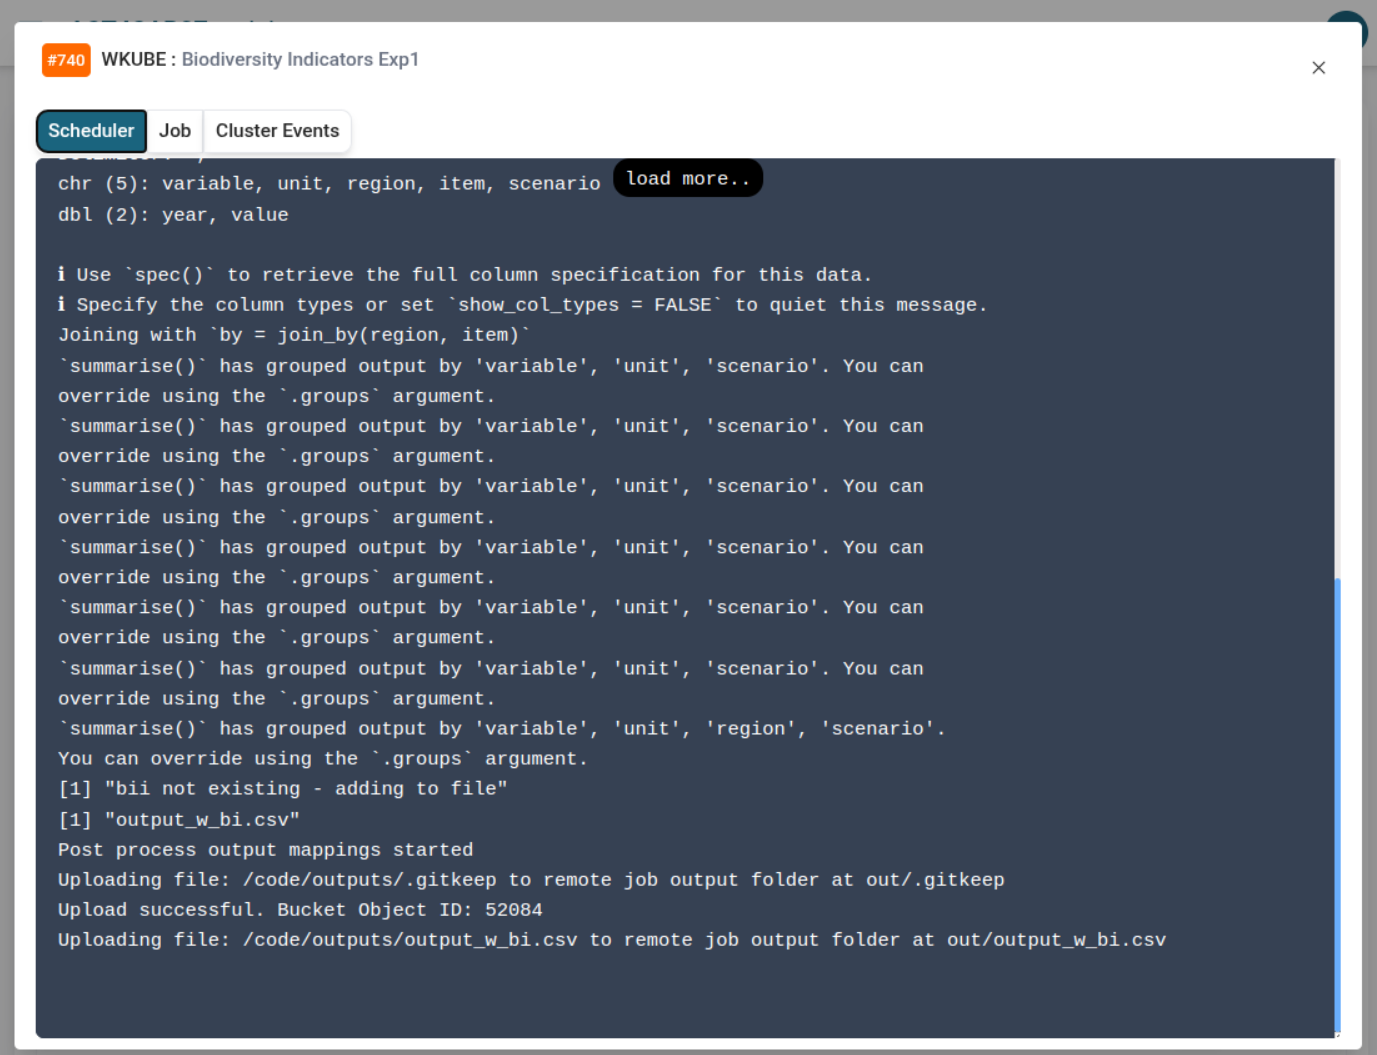
- 📦 Download or inspect output files